Finally after weeks of reformatting and small issues with file conversion, I got it all under control for
Rats & Gassers: Kustom Kulture Takes A Ride. The final hurdle was getting a split audio signal from the Panasonic AG-DVX100 footage. The problem was that when I used Cinema Tools to remove pulldown and convert the files to 23.98 fps (shot in 24p) they wouldn't get recognized in the new Apple Pro Res 422 (HQ) timelines. So I created a new intermediate timeline and exported in FCP as a .mov file. This worked excellent, except the new audio files were not split stereo but a mixed stereo (something about default setting). So after a few days of experimentation I found that if I went back to the intermediate timeline files and split the audio tracks apart, panned hard left and right then exported, I would get a new .mov file that had left and right audio channels completely split and not panned center. The reason this is important is because I was using a mic off camera to ask the interviewees questions and if the audio is mixed, I cannot separate points where I may have made mic noise from the answers of the interviewees. Now I can. Finally ready to edit hardcore!
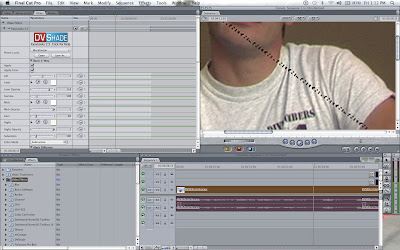
The other issue I was having is that
DVShade's Easylooks 2.5 (a great FCP plugin program for instant coloring styles and color correction) would add strange flashing lines to the rendered files. After contacting their Tech Support via e-mail, they explained that I had to set the output render to an 8bit setting. This not only fixed the line issue when using Easylooks, but also made the resized Panasonic AG-DVX100 footage "render free" on the timeline! Two birds with one stone.


